Tuesday, January 10, 2012

The Tudor Farmhouse

The event that really pushed me into finally starting a gaming blog was probably the finishing and posting of the Tudor Farmhouse.

Welcome to the Tudor Farmhouse!
It's something I've been working on since August of 2011. Really, I've spent more time not working on it than working, and I'd estimate it took me about two weeks to complete, spread out over five months. People seem interested in the "how" of what I did. So I figured I'd post a few screenshots of the work in progress and explain exactly how I went about things.

The most important parts of building a house are the inspiration and ideas. In the course of roleplaying, decorating, chatting, or touring, I will come up with an idea. From that idea, I will do google searches for inspiration. No, I am not an architect in my life away from the game. I am simply someone who has strong google-fu, and the ability to look at a real life floorplan and figure out how to turn it into an in-game building.

I also am pretty good at taking a real life image and using game items to replicate it.

Something I always keep in mind is something I learned in an art class--your mind does not actually store as much information as you think it does. You may think you know exactly what something as simple as a mug looks like, but if you were to try and describe in exact detail how a mug looks, you might find you're having difficulties. There are very few items that we know intimately. Most of the time, our brain keeps generalities in mind. "A mug is a cylindrical. It has a handle. The lip needs to be thin enough to drink from, but thick enough to hold the liquid. The bottom of the mug is probably about as thick as the lip, maybe a little bit thicker." That's all well and good for identifying a mug, but if you were building a mug out of in-game items, you come up with more questions. For example, how far from the top and bottom of the mug should the ends of the handle be? Should the handle be centered from the top and bottom, or should it be closer to the top? Closer to the bottom? Should the handle be the same shape on the top of the handle as it is on the bottom? How wide should the handle be compared to the mug?

All of these questions are relatively simple to answer if you have a reference image of a mug to work off of. Working off of a reference image is not cheating. It's research. Our brains simply cannot handle the full volume of material we need for everyday life. It's nothing to be ashamed of. Working off of a reference photo means that I have more time to focus on the important things than trying to figure out if the house looks realistic. That is the key to how I build realistic looking items. The entire time I'm decorating, I have Google open in the background. If I need to build a faucet, I will google faucets. Eventually, building the same sorts of items often enough means that I don't have to google them anymore. For example, I don't have to google showers, but I do still google toilets. I don't have to google sinks, but I google faucets. I don't google stoves, but I do google dish racks.


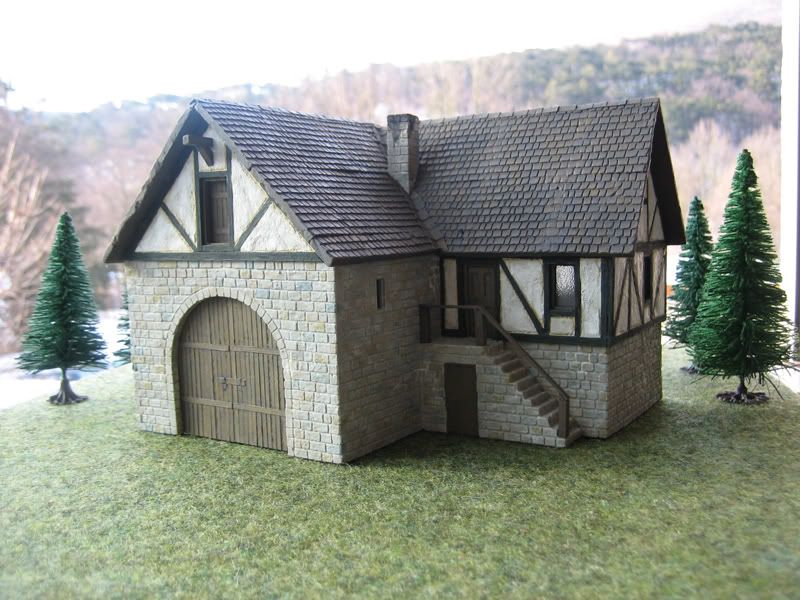
(found googling farmhouses: http://www.linkaworld.com/images/Submitted_Pics_Plans/Thomas%20Krug/farm_house.jpg)

My first go at making a farmhouse was based off of the above image. I managed to get it to look pretty similar, but then I realized--there wasn't enough space inside for the rooms I wanted to make. So it was back to the drawing board.

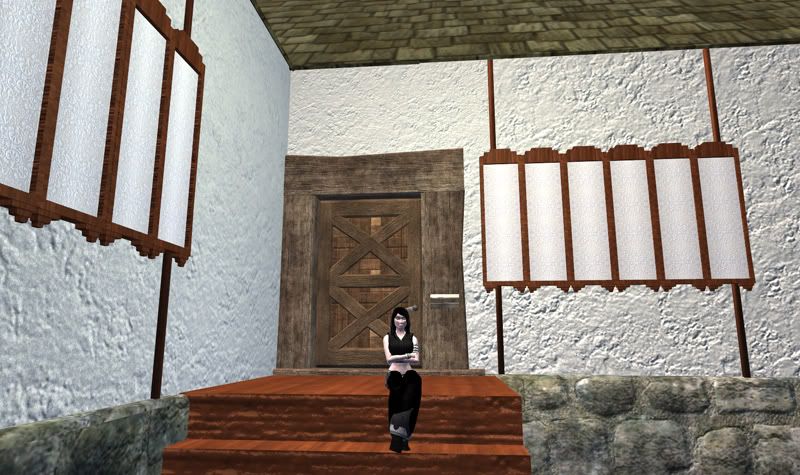
This time I literally did sketch. I pulled out my sketchpad and tried to figure out what rooms I wanted to go where. Eventually I decided on the setup I have now--an off-center door into the foyer, kitchen to the left, living room to the right, with stairs up to the bathroom and bedroom. I wanted to keep the same general feel as the ceramic farmhouse pictured above, but I wanted more space and a different layout.

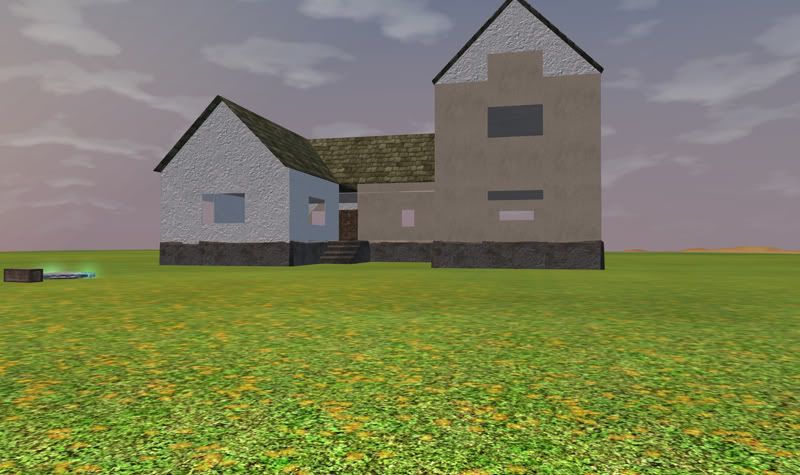
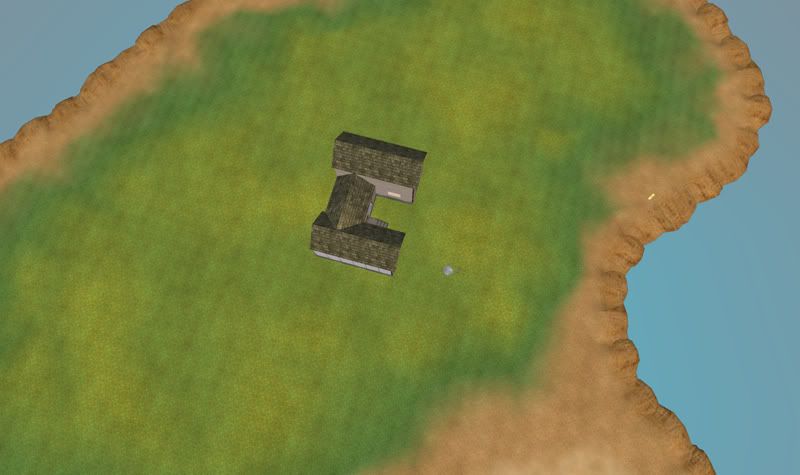
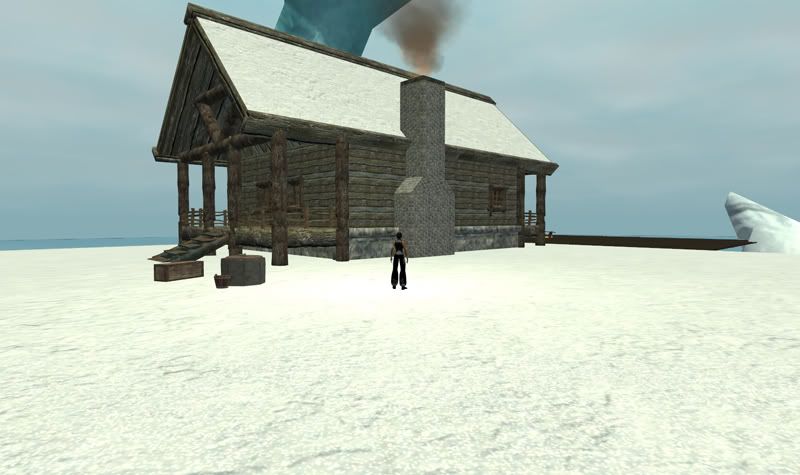
The shell of a house.
When building a house, I don't just go for shape. I try to keep in mind the function of each room as I'm planning it, so I can be sure that when I build it, it works. For example, having the kitchen on the right didn't work for a variety of reasons. First, the fact that there were two stories on the right meant that I could have all of the windows on the first floor open. In a kitchen, you don't want a window behind the stove, and shifting the stove to one side or the other of the window meant that it felt too cramped. Because the single-story wing of the building can't have the windows opened along the sides due to the scaling of tiles to create the sloped roof, the kitchen was best suited to the lefthand room.

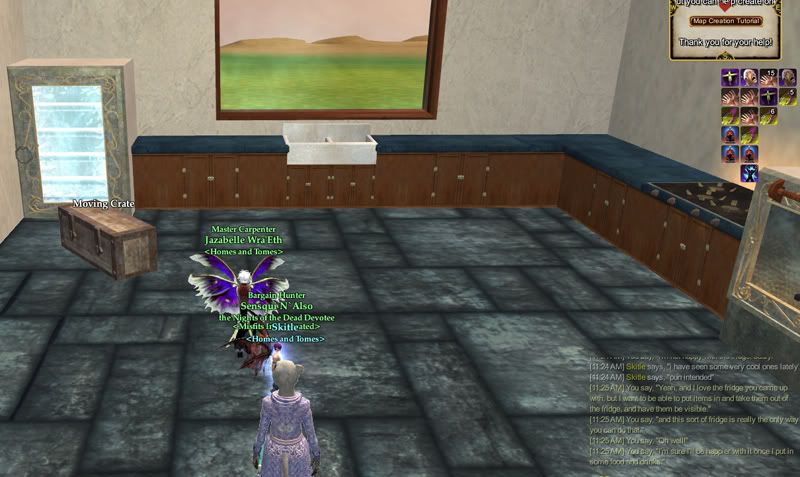
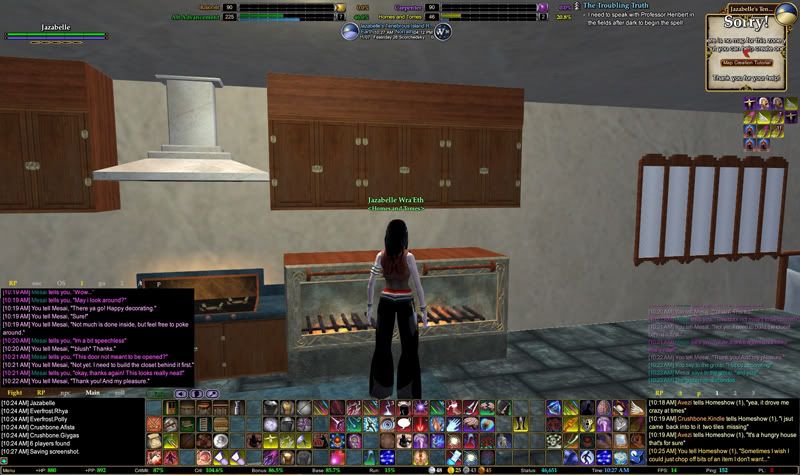
An empty kitchen is great for traffic flow.
Added to that was the problem of traffic flow--should the kitchen section be towards the northern end of the room, with the breakfast nook at the south end by the window? Or should it be at the south end, with the breakfast nook at the north end, looking into the foyer? Ultimately, I decided the nook at the north end would be better for traffic flow. As much as I liked the idea of having a window by the nook, it didn't make sense to have the nook be all the way through the kitchen.

But back to building the house--once I'd decided on the shape of the house and the location of each room, I came to the most visible step of building a house: I had to put together the structure.


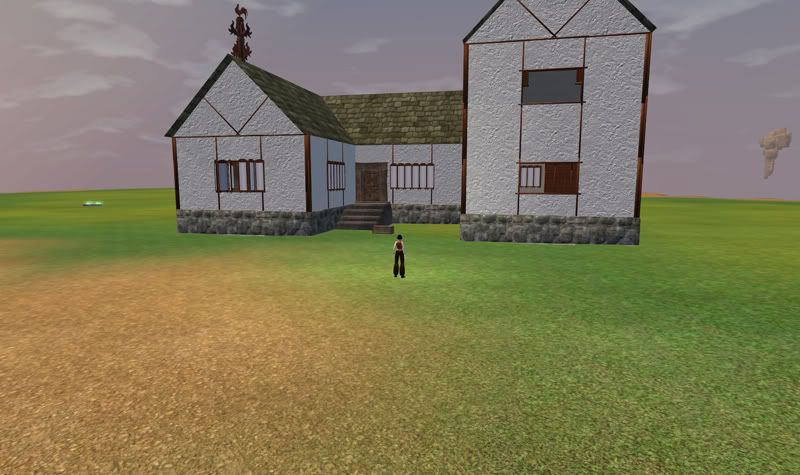
I started to build the house in white marble, but then realized I didn't like the look. Researching Tudor style farmhouses, I realized that stucco might be a good look for the house. That brought up the question--what could I use as stucco?

If it takes the pills twice a day, will the scabs go away?
In this version of the farmhouse, you can see I eventually settled on snowy squares. I tried the sandy squares, thinking snowy would be too white, and found that the sandy squares were too yellow. So I replaced them with snowy squares. It is for things like this that Jesdyr's layout editor really comes into its own. I was easily able to swap out many many tiles with just a few clicks of the mouse.


Death from above! Or at least, a house.
Unfortunately, I was short on snowy tiles and had to wait for the Moonlight Enchantments (grotto) event to roll around again. Not only that, but I wound up going out of town during the grottos, and so missed the event. Friends farmed me some of the tiles I needed, but not all. The poor house wound up looking rather patchwork for nearly a full month!


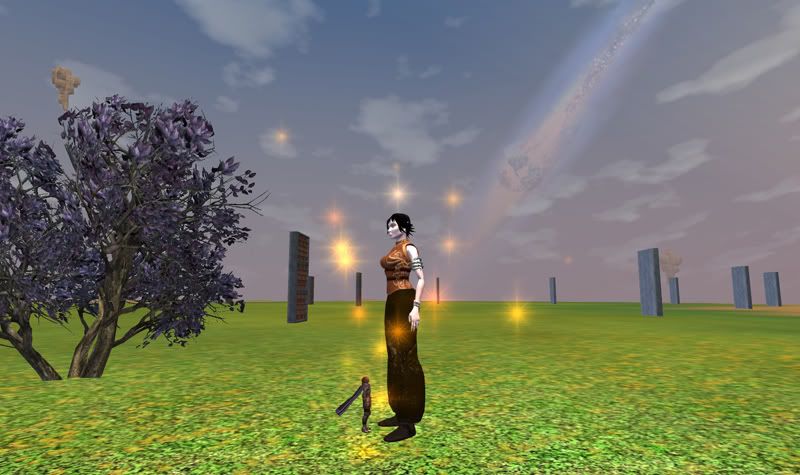
You can't see it, but there were some bookcases arranged like  Stonehenge.
A very important part of decorating is taking the time to relax with friends and have fun. Zhadowsee was kind enough to purchase the erudite bookcases for me. Unfortunately, I don't yet have the faction (I'm almost there though!) to purchase them myself. However, when he told me he'd dropped the bookcases in the house and I came to look, I found the farmhouse sitting in a small forest of bookcases.


Omnomnomnom....
People don't think of breaks from the houses as valid periods of decorating. I disagree. It's during those breaks that I take the time to look at other houses, or simply stop thinking about  housing at all. If I'm looking at or touring other houses, I find myself gaining new inspiration for the house I'm working on. Sometimes the breaks are just silliness, like the picture above where I and a friend are wearing marine costumes, but some are actual research. And when I take a break from a house and come back, sometimes I find solutions to problems that I was too close to to see before.


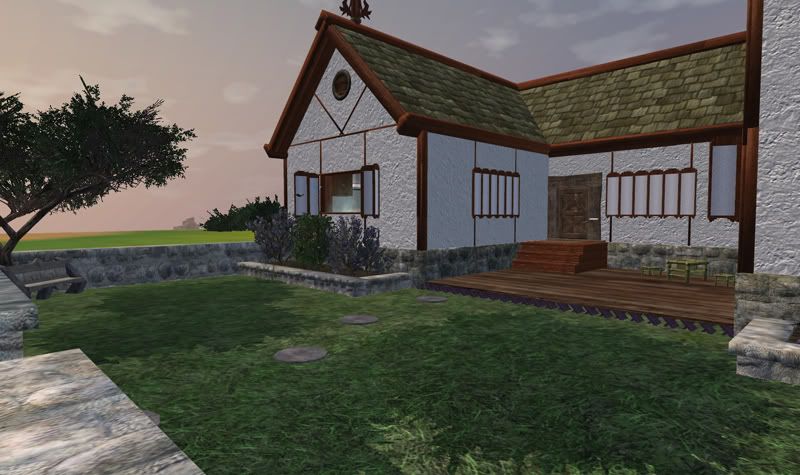
A Jazabelle, happy with the trim on the house.
For example, the trim on the Tudor style farmhouse. What was I going to use for trim? It was while taking a break from decorating, running around my guild hall and looking at all of the sumac dividers I'd used for wainscoting that I realized--if I used sumac dividers, but rotated them two degrees more or less than 90, the top edge of the divider would poke through the walls, leaving the bottom edge hidden in the wall! I could use that top edge to create the trim.


The first day they added the /sitc command. I had to test!
Slowly, the materials I wanted to use for various parts of the house solidified. For instance, in this screenshot, I'm sitting on my sumac front steps. They match the trim of the house. However, in the screenshot above, the steps are stone blocks. I didn't like how rough the stone blocks looked compared to the rest of the house. I'm actually not entirely wedded to the sumac either, but it was the lesser of two evils.


Once I had the exterior done to my satisfaction, it was time to work on the interior. First off, I don't like paper thin walls. I like an element of realism to my fantasy games, and no wall in any house I've ever been in has been an inch thick. Five inches at a minimum are what I've seen. A door itself is usually about two inches thick, and doorways are always quite a bit thicker than doors. Doors are recessed into doorways, from both sides. That meant that I had to set up some interior walls.

In addition to the fact that it's more realistic to have thicker walls, it really opens up building opportunities with thick walls. You can hide things inside thick walls that you couldn't in a thin wall. The faucets in the kitchen and bathroom would have been impossible without the 0.5 unit thick walls.

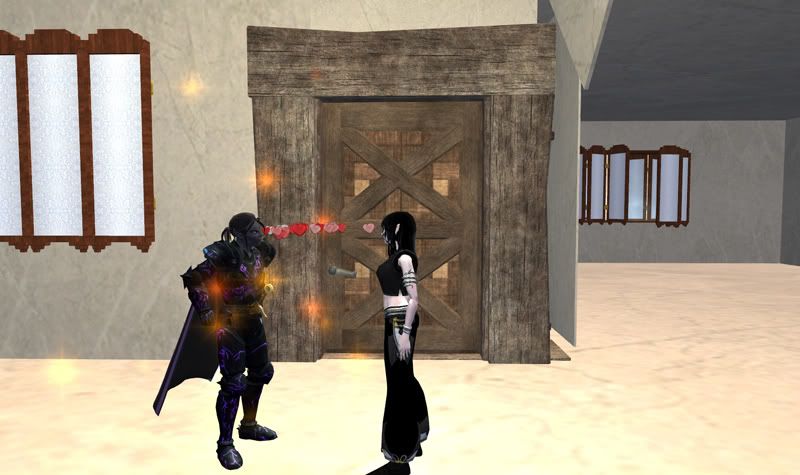
This is better than the daggers he was shooting earlier!
In the screenshot, you can see the walls of the kitchen and the living room, and you can see how much of a gap there is between the two. You can also see me pausing to accept the support of Zhadowsee.

So after the structure and interior walls are done, what next? I personally like to start at one end of the house and work my way around. In this case, I worked left-to-right, then bottom-to-top. That means I started with the kitchen.

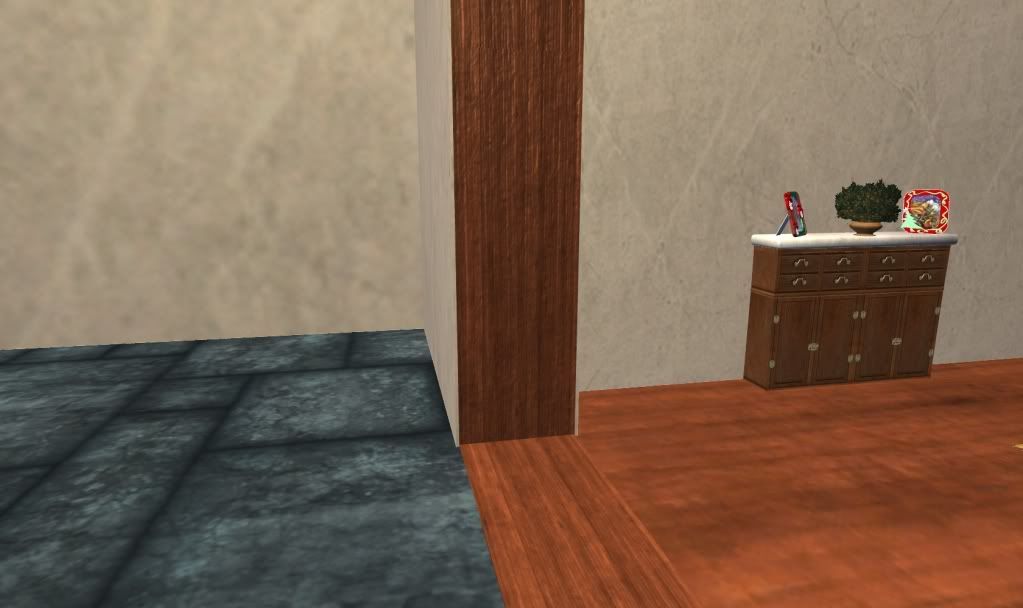
Thick walls--good for hiding things inside. Like bodies?


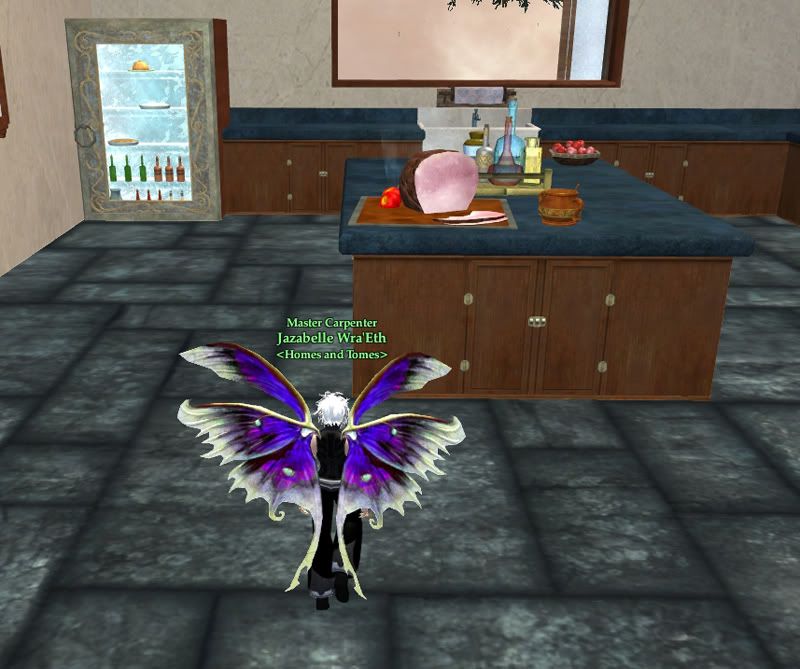
Fridge, island, sink.
Standing in front of the ovens, arranging food inside of them.
Kitchens are difficult for me. I love them, and that makes them harder. I want the kitchen to look good, and be something that looks realistic. At the same time, a kitchen isn't something that most people use a lot in-game, so it can't be too detailed.

About the only thing people do in kitchens as far as roleplay goes is to grab things from the fridge to carry around the house. Sometimes they eat in them, and rarely they roleplay out the act of cooking. So what was I going to do for the kitchen? In my case, that meant going utterly overboard.

I could have built a fridge that was much more realistic than the one I did, but I wanted to be able to use the wispy vampiric mirror. With the wispy mirror, people can interact with the bottles and food items "inside" the fridge without having to worry about removing the fridge door. Perfect! It helped that the colors of the frame on the vampiric mirror matched the kitchen. And of course, I used the same mirrors for the ovens, so that really tied things together.

The house I posted on the leaderboards is a display house for what the house could be. I wanted it to look like someone lives there. Like someone stepped out of the kitchen for a moment, or is about to take a bath, or just finished writing at the desk.

The Squee and Jazabelle, sitting at the breakfast nook.

And of course, since the house is built around the idea of roleplay, I wanted the furniture to be usable. That meant all of the furniture had to be custom built, since the collision on the pre-made furniture is horrible for seating.

After I finished the kitchen, I moved on to the foyer, then the living room. Both of those rooms were relatively simple--they just needed a little bit of furniture, a spot to sit here and there, and places to display trophies from my (or whoever decides to purchase the layout's) adventures through Norrath.

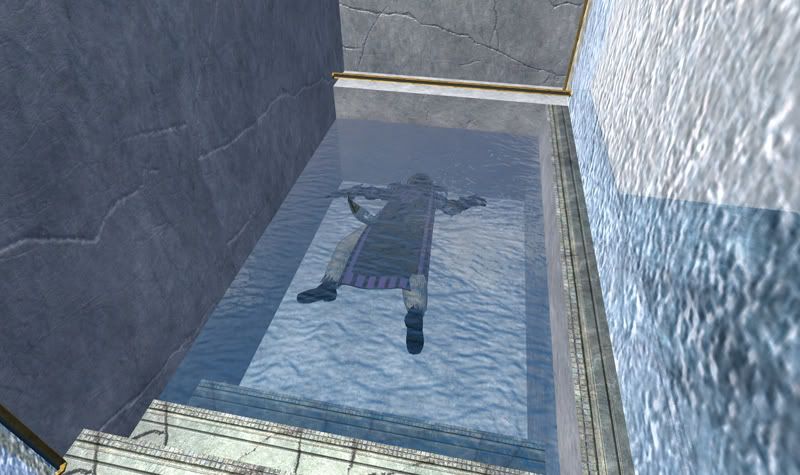
No, I did not murder him. He's just.... taking a short nap. Under the water.
Finally, it was time for the bathroom. Why a bathroom in a roleplaying house? First of all, bathrooms are realistic. As I said, I like an element of realism with my fantasy (and besides, Stormhold has a bathroom. Why can't player housing?). Besides, like I've said in multiple other places, the bathroom is the "AFK" room. In the course of roleplay, if you need to run off in the middle, what better excuse than your character has to use the potty? Just excuse yourself and park yourself in the AFK room--I mean bathroom--and go take care of your business! (The pun might have been intended. I'm afraid that my guild is corrupting me. They like to go on punny streaks.)

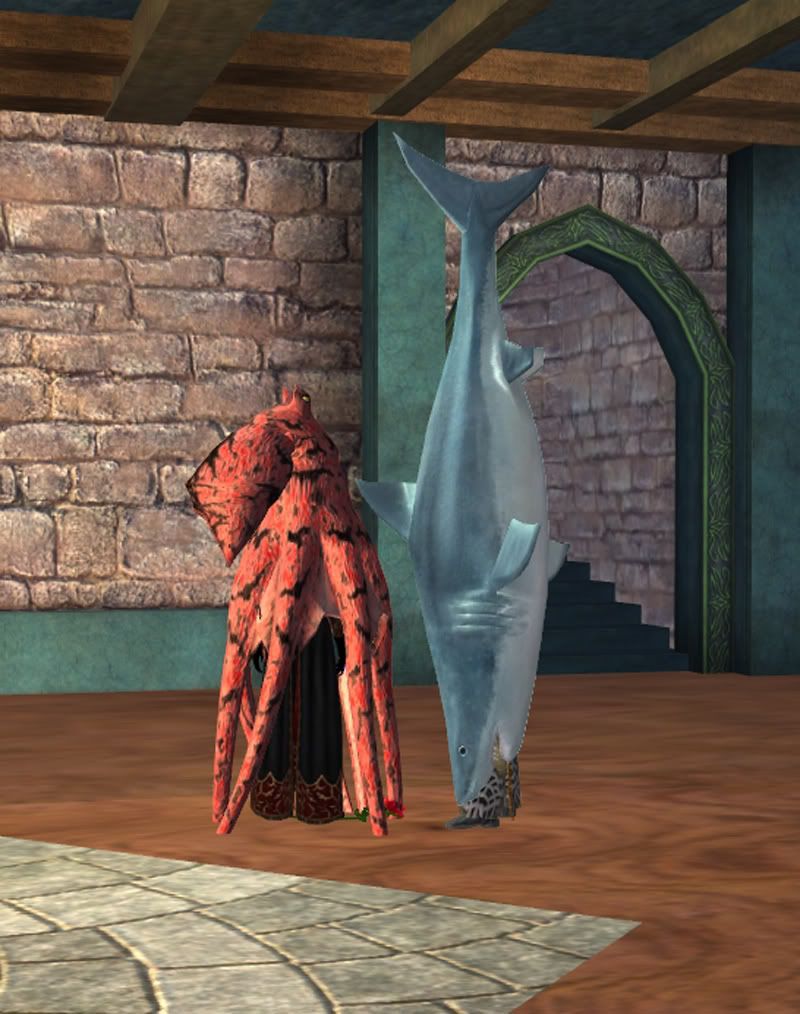
Yes, it's true. Women do travel to the bathroom in packs.
Really, at this point I was just decorating. I did a lot of googling (I spent a night googling toilets. You would not believe some of the weird toilets that are out there). I also did a lot of from-memory building. The bath/shower was based off of a bathtub in the house of my cousin's grandmother. I always admired that bathtub as a kid, and wanted to have one just like it when I grew up and had a house of my own. Since that doesn't seem likely (the growing up or the having the bathtub in a house of my own) I've resorted to basing bathtubs off of it in-game. Close enough for government work, right?

The house went through several incarnations before I settled on what I finally did. But once I'd decided on the farmhouse, the house practically flew together--at least while I was working on it. I spent a lot of time not working on it, as I've said. One of those reasons was that in mid-November, I was inspired to begin another house.

I also had several things happen which took me away from the game. But the house was eventually finished, and now it's up on the Antonia Bayle leaderboards as "The Tudor Farmhouse" under massive homes (update: The Tudor Farmhouse made it to the Hall of Fame on January 21st, 2012). So stop on by, take a peek, and remember that while what you're seeing now may look effortless, it most definitely was not.


Happy decorating!

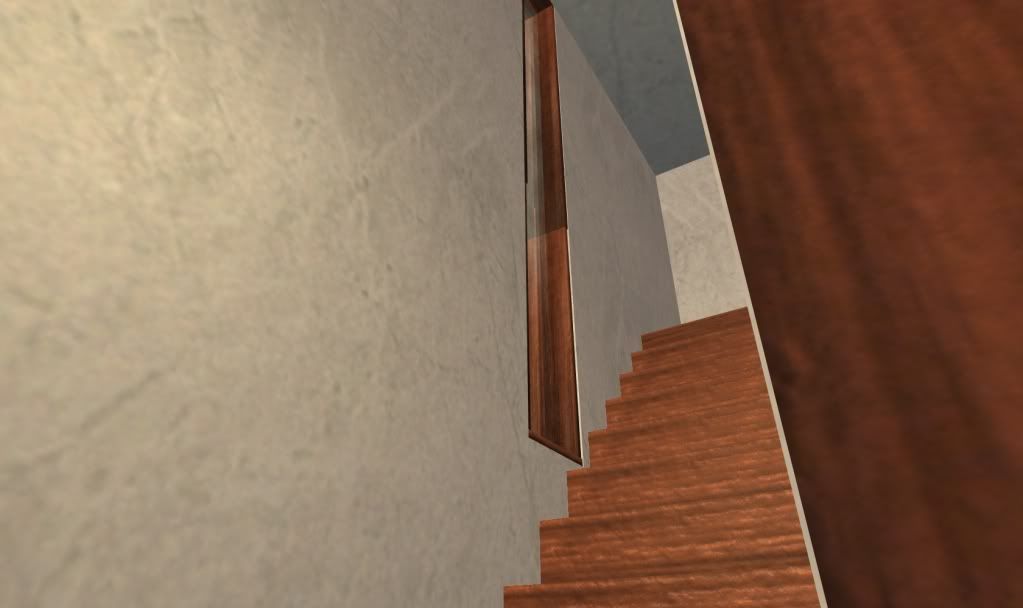
The stairs really aren't that steep, honest!

My favorite window in the entire house.

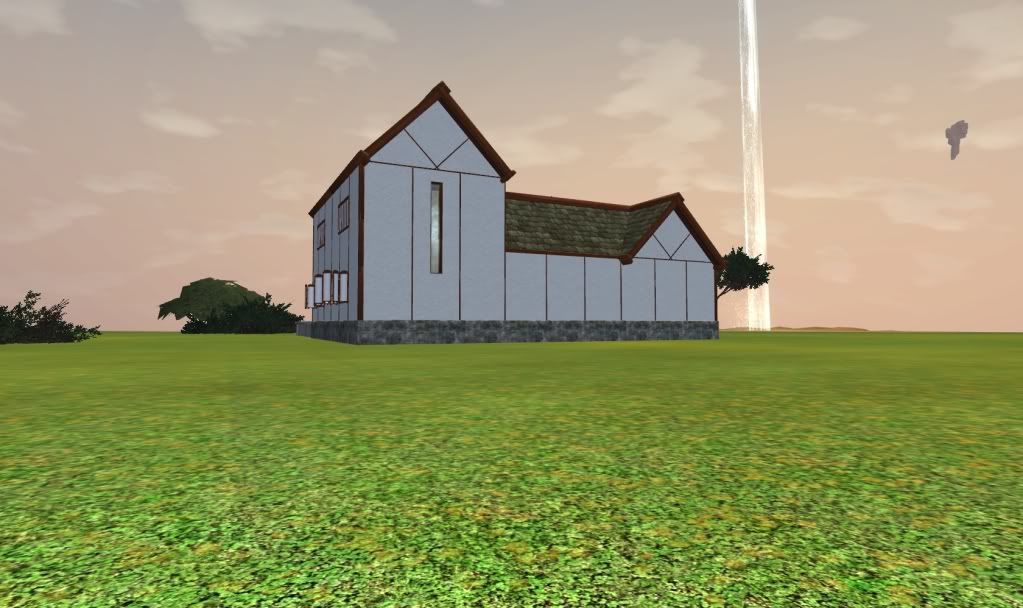
It really looks small from this angle, huh?

Monday, January 9, 2012

The Start of a New Blog

Well, I started a blog I thought I would keep in-character, but it never went anywhere. I started a Facebook for my character, but that never really went anywhere, either. Then I thought, "All the cool kids have gamer blogs, why don't I make one? I don't have to stay in-character either. It can be about housing in EQ2, since that's what I do while I'm gaming!" Or at least, that's what I spend the majority of my time focusing on, in between roleplaying and the occasional trip out in the world to quest.

So here I am, starting a blog. About gaming. Yay.

That begs the question--what should I talk about?

To start with, I suppose I should introduce myself. My online moniker is Jazabelle Wra'Eth. Don't ask about the Wra'Eth--it was a poor choice years ago, and it has managed to stick with me all this time. Most often, people call me Jazabelle, Jaza, Jaz, Jazzy... the variations are numerous. I answer to all of them.

I mentioned I do housing in-game, and that I play EQ2. I've tried other games in my gaming career, but the only ones that have ever managed to really catch my interest have been ones with housing. I adore MMOs for the interactions with others, and the fact that the world in an MMO is a living, breathing entity (even if it lives and breathes very slowly for the most part). No other MMO I've tried--and I've tried most of them out there--has kept my interest as long as EQ2. Why? Simple. EQ2 has one of the most robust housing systems in any game I've played, and the Antonia Bayle server has a large roleplay community.

Sure, there are other games with housing. Sure, there are other games whose look I prefer to EQ2. There are other games whose combat mechanics I prefer. There are games whose characters I like the look of better. But what it boils down to is that I enjoy two things in gaming--housing and roleplay, and EQ2 has both. I won't even consider a game if it doesn't have housing. And now that EQ2 has gone free to play, I can't ever see myself leaving the game until the servers go down.

So that covers the homes portion of the blog. What about tomes?

I've been decorating since I first left the island in EQ2. Admittedly, my first effort involved a bed, a table, a chair, a bookshelf, and several books on top of the bookshelf. I thought I was the greatest thing since sliced bread. Then I found the Homeshow forums, and I quietly slunk off to practice a bit more.

Over the years of visiting the Homeshow forums, I slowly gathered ideas from other people. I learned how to see housing items not as actual items, but as shapes to be used. Eventually, I posted a few houses, to modest praise. Then I took a break from the game. For nearly two years, I played other games. I really only played EQ2 on and off anyway, and this was a very long off period.

When I came back, I decided to redo my home. It went through several incarnations, and in that time I decided that I needed a separate house to hold the books I'd collected over the years of gaming. I also met and befriended Aurelis, the premier bibliophile of EQ2. With her encouragement (and the encouragement of a few other friends) I built a library.

And between Jazabelle's home, and the library, I suddenly found that people thought I was pretty decent at this decorating stuff. I was already slightly book obsessed, but I decided that the library would be a library. I would collect every single book I could get my hands on. I would beg and borrow books from people. I would stop just short of stealing, in order to collect all the books I could. I haven't managed that, but I tried!

The vanity guild Homes and Tomes was born (suggested by Aurelis). It didn't stay vanity for long--it's now a small guild of decorators, crafters, and roleplayers. But Homes and Tomes is how I think of my EQ2 life. And so this blog is about Homes (my decorating in EQ2) and Tomes (the books, and by extension, all of the combat that is involved in EQ2, as most books require combat to obtain).

Welcome to Homes and Tomes. May your stay be as amusing for you as it is for me.