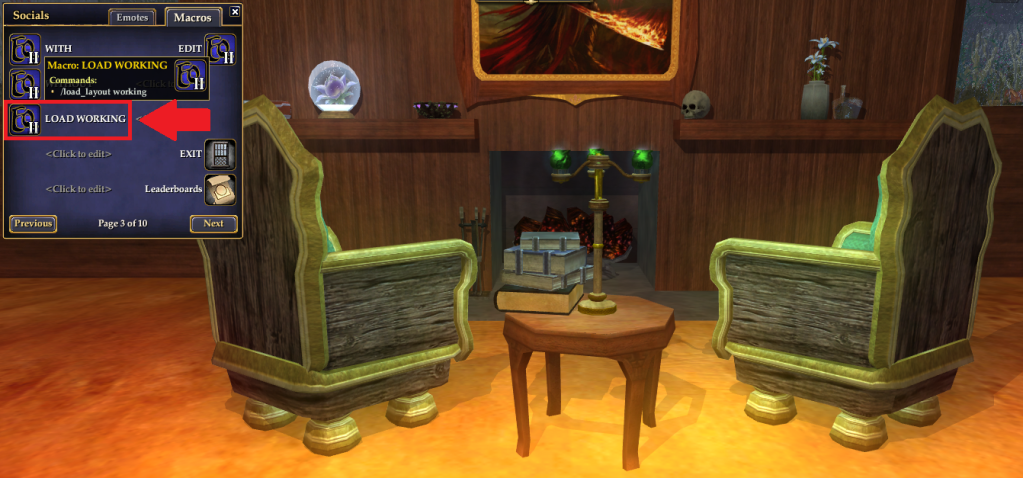
This tutorial is for use with version 1.7.2.14 of the layout editor. If you don't have this version, I highly suggest you download it now. Because this tutorial was written before 1.7.2.14, some of the details on the screenshots may be different than the windows you see. However, the important parts of the windows are the same (the parts boxed in red), so I have not updated the screenshots. If that ever changes, I will update the screenshots to match the most current editor.
Originally, I was going to write a tutorial on how to use the circle tool. However, I decided that rotating items around a point would be the logical step after duplicating and before the circle tool.
Why rotate items? Well, if you built a complex (or even a simple) object along one wall of a room, and then realized that you'd rather have it on a different wall, instead of tearing it all down and rebuilding, you can use rotate to spin the item and move it to its new location.
Or if you want to build a dome or some other complex circle , spherical, or hemispherical object, duplicate and rotate are your best friends.
Using the duplicate function along with rotating around a point is a very powerful tool set. For example, when I built the cathedral, the half dome over the altar was built with duplicate and rotate, not with the circle tool. The reason for this was simple--the pieces of the dome alone are very simple, but when combined together create a complex looking object. Figuring out the locations for each tier of the dome would have been difficult with the circle tool. Rotate made it much easier.
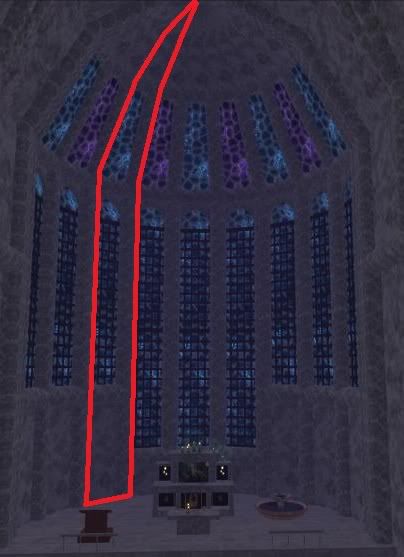 |
| It's a lot simpler than it looks. |
At this point, I'm assuming you've had some experience with the layout editor (or you've at least read the other two tutorials). I'll be combining a few of the easier steps in one at times, to cut down on the number of screenshots.
So to begin with, we need something to rotate. To show off the power of rotate, I'm not going to use a single item. Instead, I'm going to rotate an entire setup around the point of my choice.
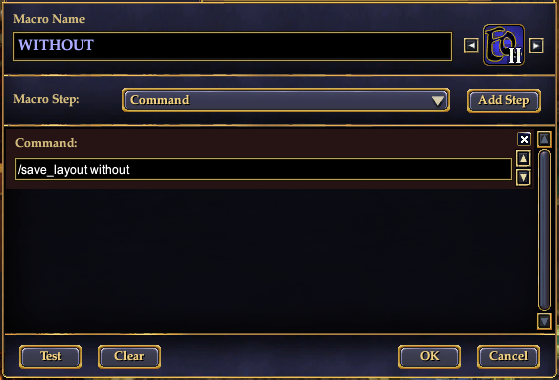
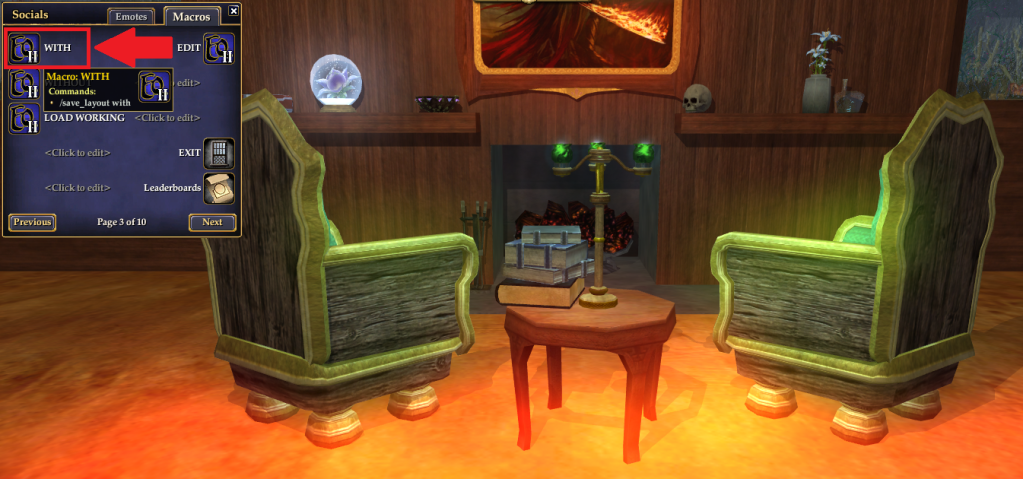
First, I find the items I want to rotate. I've chosen to rotate my desk around the rug in front of it (which you currently can't see). While they're out in the house, I hit my WITH macro. If you don't know what a WITH macro is, you probably want to look at my tutorial on how to use the Diff button. The very beginning goes over what macros you'll want to have set up to understand my tutorials.
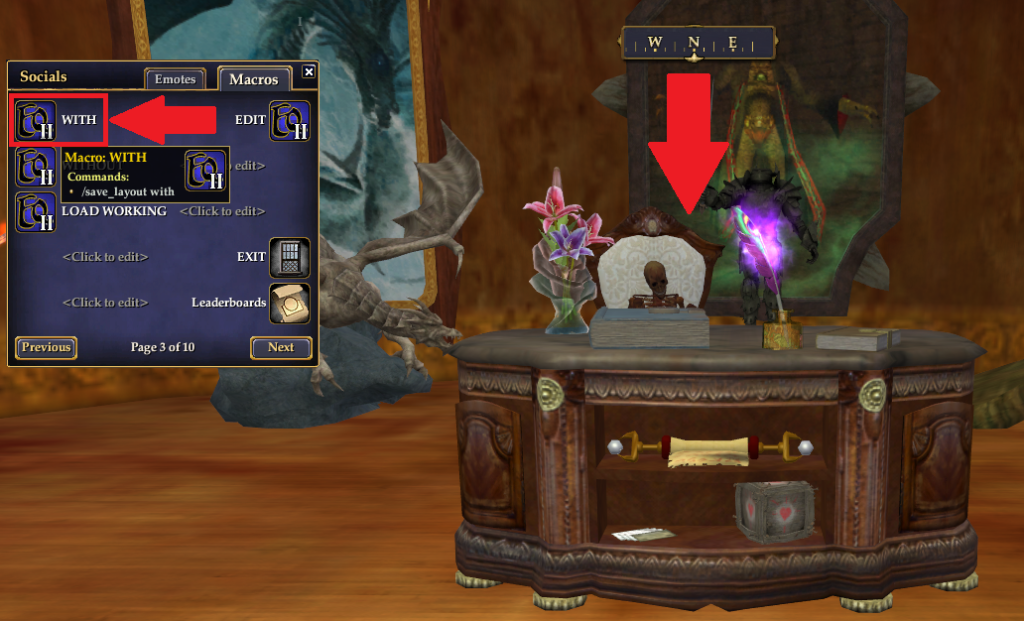
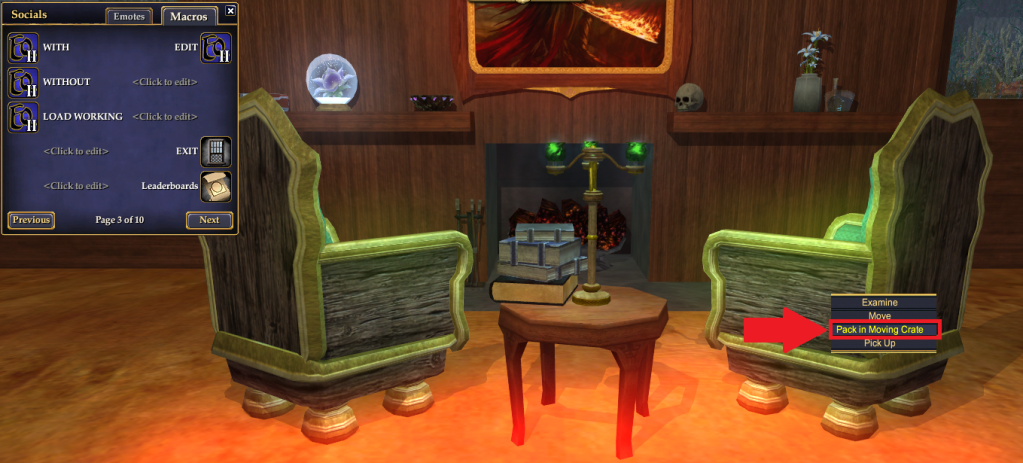
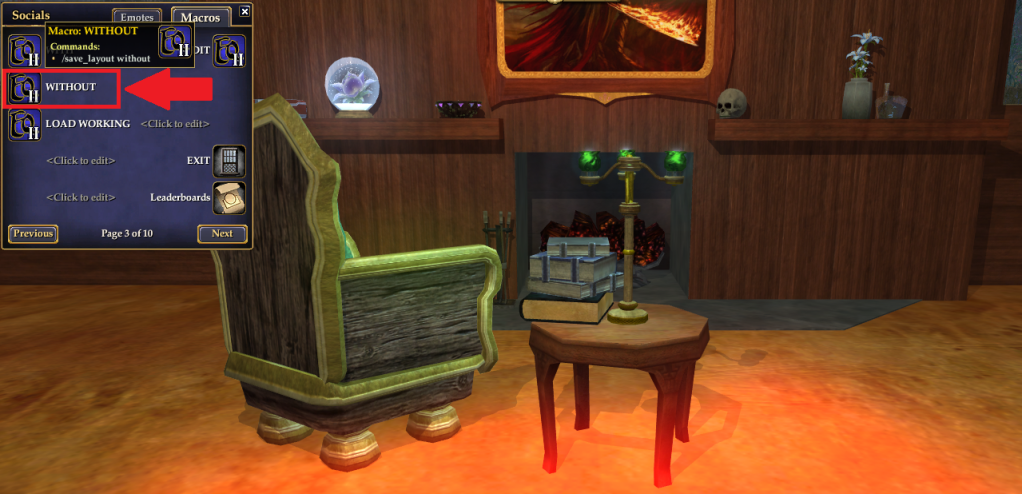
Once that's done, we'll pack all of the items I want to rotate into the moving crate, then hit the WITHOUT macro.

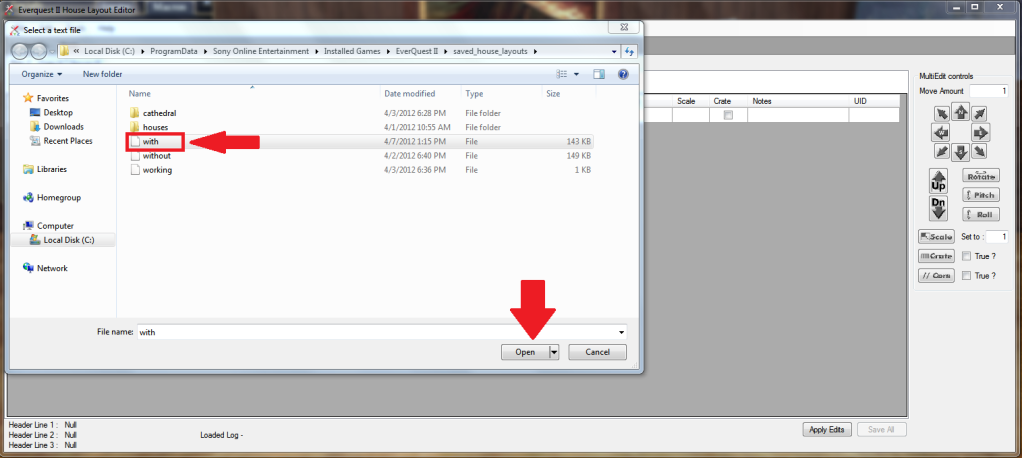
Moving on to the layout editor, we'll open the with layout file.

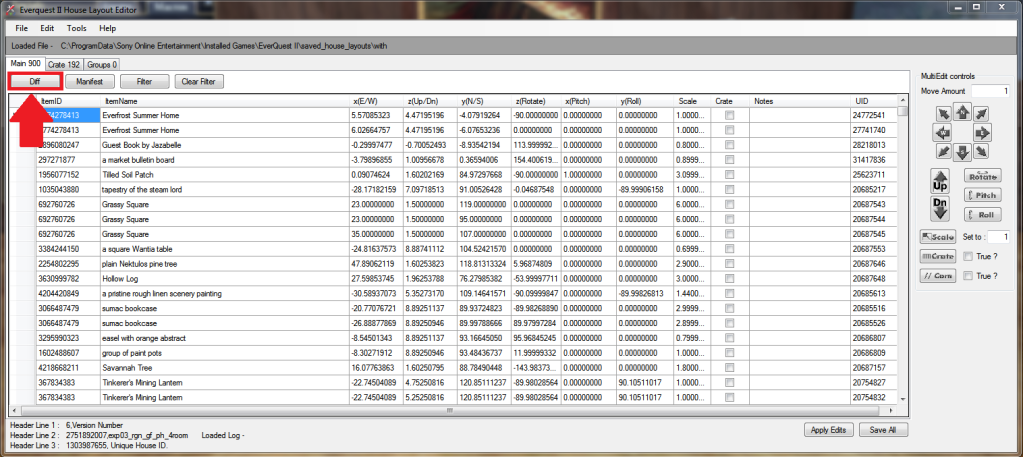
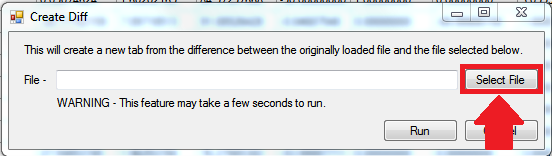
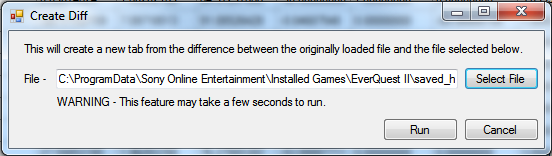
The layout editor should take us to the Main tab. We'll hit the Diff button in order to isolate the items we want to rotate. The layout file for Diff should be the without file. Click Run. Confused? Read over the Diff button tutorial.
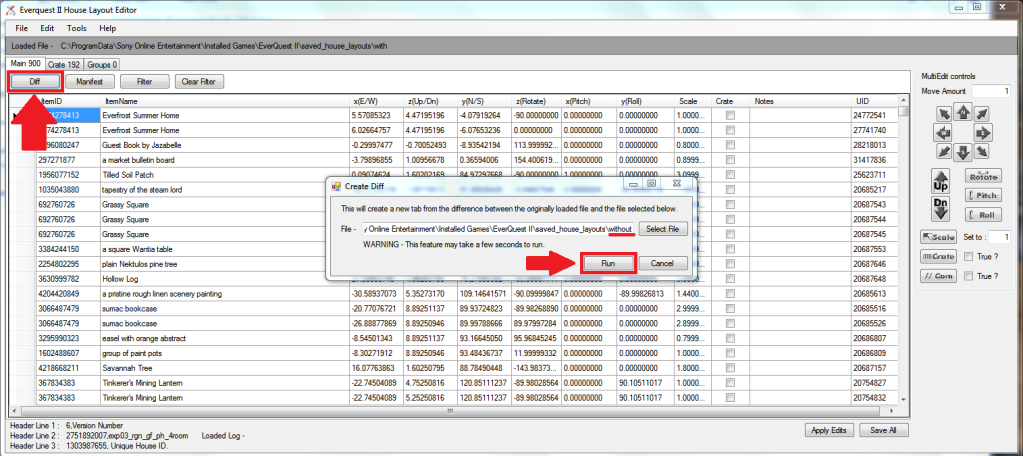
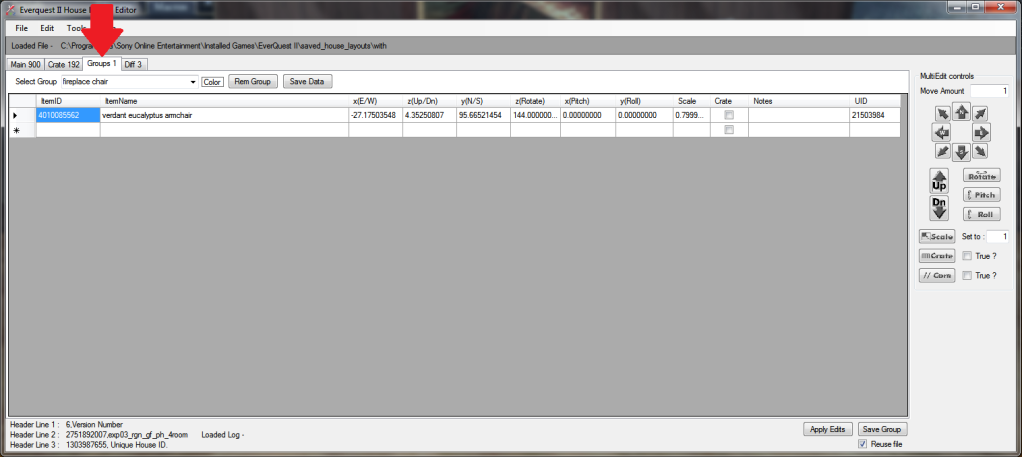
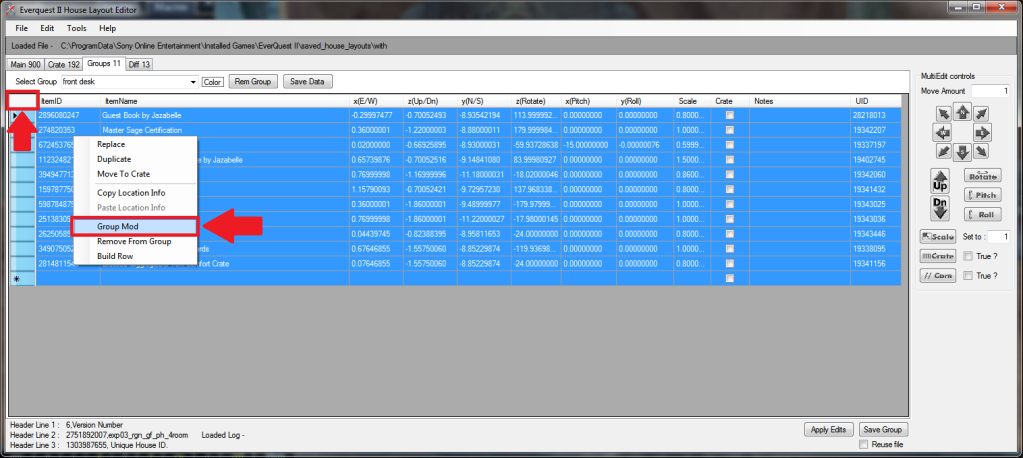
If we've done everything correctly, the layout editor should create a group called "Diff group 1." In this group should be all of the items we packed into the moving crate after hitting the WITH macro. We're going to select all of the items in the "Diff group 1" group by clicking on the blank rectangle beside ItemID (sound familiar?). Next, we're going to right click and select Group Mod. (Note: The name of the group in the screenshot is incorrect, because this is a screenshot of an older version of the editor. Don't panic! Group name has no bearing on what we're about to do. The instructions are still valid.)
At first glance, the window that pops up looks extremely intimidating. There are a lot of empty boxes, demanding to be filled out. Luckily for us, we don't need to worry about all of the boxes. These are the three different Group Mod features, and they're combined into one window. The top window is the Group Point to Point movement box. It's a very simple, very elegant tool, but we don't have to worry about it. It isn't our focus right now.

What we do want to look at is the Rotate Group Around Point section. Instead of six scary boxes demanding our attention, there are only three scary boxes demanding our attention. If you've been paying attention to the layout editor, you've noticed that along the top of the normal window, above the different columns, there are titles to those columns. One label is x(E/W). That's the column that tells the game how far to move an item in the East or West direction. Another label is y(N/S). Based on x(E/W), if you guessed that y(N/S) tells the game how far to move an item in the North or South direction, you'd be right.
Why am I pointing this out to you? Because the boxes we want to fill in have X and Y labels. The assumption then would be that the numbers I need to put in here are the X and Y (or East/West and North/South) numbers of the point I want to rotate around.

(The part that's crossed out is a feature that hasn't been perfected. You'll probably never need to use it ever, so there's no point in worrying about it. It might as well not exist as far as we're concerned!)
The numbers filled out in this screenshot are the default numbers the box appears with. We'll be changing those numbers to the ones we want shortly.
So the first thing to do is to find the point you want to rotate around. If you were smarter than I was, that would have really been the first thing you did, and you would have done that before packing your first item in the moving crate. Luckily, for our purposes, choosing our rotation spot right now doesn't hurt us. My personal favorite method is to go to the approximate spot I want, and to type /loc in the game. This will cause the game to print out my current location.
My location for E/W (also known as X) is -0.02. My location for Up/Down (also known as Z--don't worry, you didn't miss anything. I didn't cover Z before, because there is no Z box in the Rotate Group Around Point section) is -1.87. And my location for N/S (also known as Y) is -6.04. Those are the only three numbers I need to concern myself with. They will always display in the order of X, Z, Y. The layout editor also displays the columns in the same order.

Once I've done that, I can go back to the layout editor's Rotate Group Around Point. I can use the X and Y numbers to fill out the appropriate boxes for my center point. I also need to fill out the Angle to Rotate box. How am I going to figure that out? Well, think of the spot that you're rotating around as being the center of a circle. You may not remember from geometry, but a circle has 360 degrees. 90 is one quarter of 360, and will take you one fourth of the way around the circle.
If we imagine our circle is a compass, from North to West or North to East is 90 degrees. From East to North or East to South is 90 degrees. From South to East or South to West is 90 degrees. And from West to North or West to South is 90 degrees. One quarter of the circle is always 90 degrees. Half the circle (from North to South, or East to West) is 180 degrees. Makes sense, right? It's two quarters, or 90 + 90. And of course, one full circle is 360 degrees.

Something to keep in mind--the distance from the Point to Rotate around and the items is the distance from your items to the point that you pick. If you want the circle that the items travel along to be smaller, pick a point closer to the original location of the items. If you want the circle that the items travel along to be bigger, pick a /location further away from the items. And if you want the items to spin (practically) in place, pick a point somewhere within the items you're rotating! In the case of my desk, if I used my desk's /loc as my point to rotate around, everything would spin with the desk. Then I could move it to where I wanted to.
With that in mind, let's rotate our item 90 degrees around the circle, so that you can see what I mean. I've rounded -0.02 to 0 and -6.04 to -6 for convenience's sake. Once I've filled out all of the boxes, I can then click the Rotate button. Make sure you still have all of the items you want to rotate selected before you click it! It is possible to deselect them.

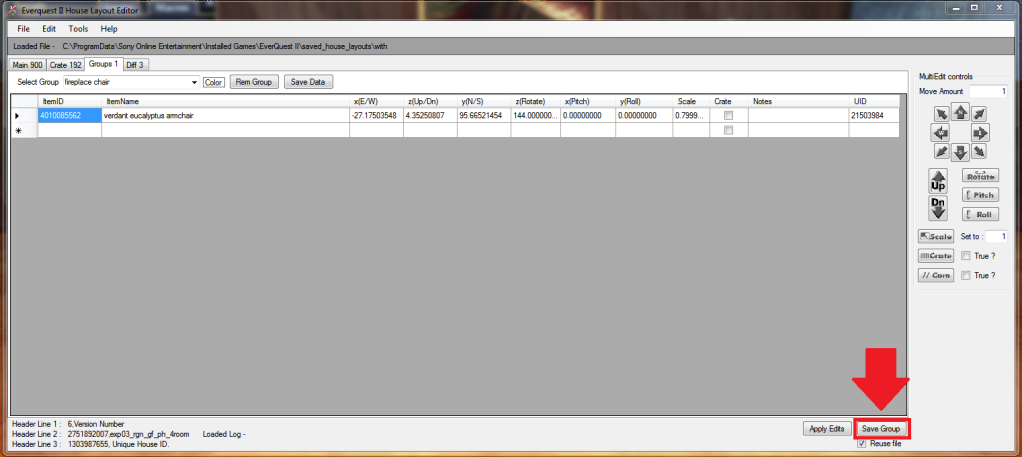
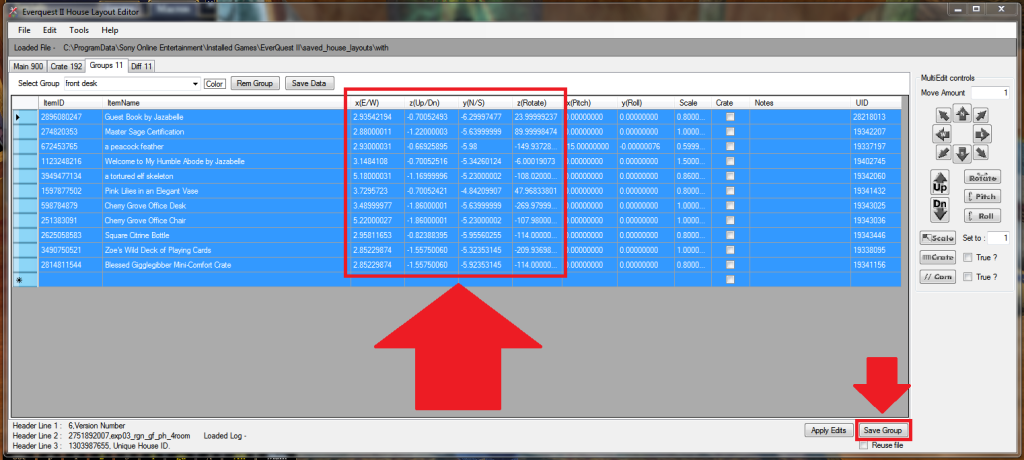
If we look at the X, Y, and Rotate boxes in the layout editor, we'll note that the numbers have changed from what they were before. That's exactly what we wanted, so let's click the Save Group button.
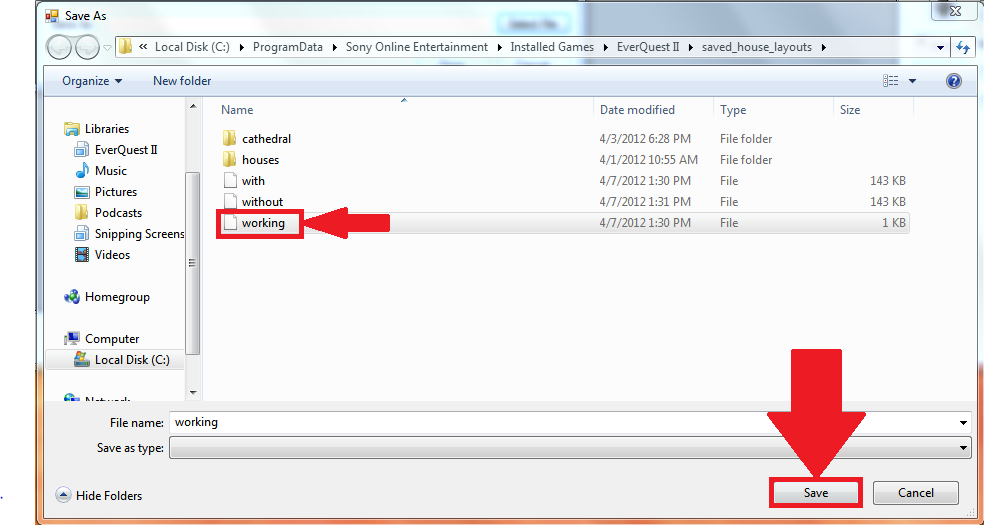
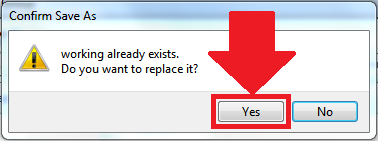
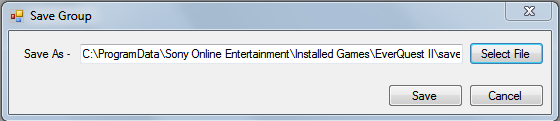
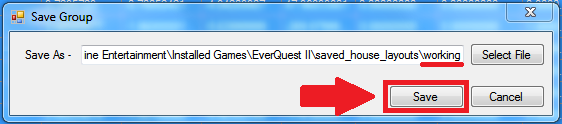
In the box that pops up, ensure that we're saving to our working layout file, and click Save.
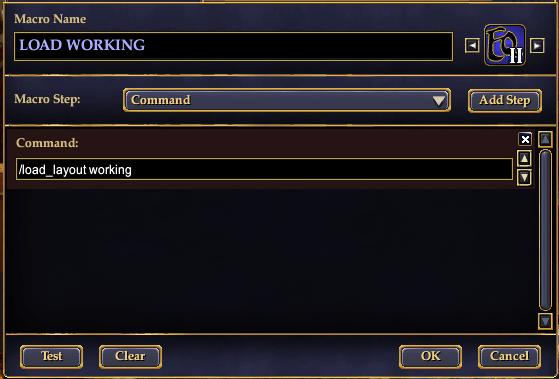
In game, click the LOAD WORKING macro. Your items should reappear, but now they're in a different spot! In this case, they've rotated 90 degrees to the West along the invisible circle that's centered around my feet. Originally the items were to the North. Now they're to the West.
If you're wondering why they went West, it's pretty simple. A positive number in the Angle to Rotate box will send the items "around to the West" (also known as counter clockwise). A negative number in the Angle to Rotate box will send the items "around to the East" (also known as clockwise). If I'd put -90 into the Angle to Rotate box instead of 90, the items would have wound up on my right side (also known as my East side, since I'm facing North!). Because I put in a positive number, they wound up on my left side (my West side).
And would you look at that, everything's exactly how I had it originally, except now it's in a different spot, facing a different direction!

Here's an image to help you see what the items did. The empty circle is approximately where my items were originally. When I rotated them 90 degrees around me, they wound up to the West. The desk is still facing me. Imagine if you will that the item is on a track that goes in a circle around me. No matter how big or small I make the angle to rotate, the desk will always face me.

And there you have it, the simplest method of rotating items. You can combine this with duplicate, so instead of rotating the original items, you're rotating the copy, leaving the original in place, for some really neat effects.
Happy decorating!